I used 4 envelopes (4.75" x 7") to make the folio. You can use any size envelopes that you want. The envelopes can be new or you can save junk mail envelopes and cut 4 of them to the same size.
This video shows how the envelopes go together:
Choose your favorite glue, line up the folds of the envelopes, and adhere the flaps to the back of the next envelope in the row. For this project I prefer double-sided tape. I use the tape runner from Pritt, but you can use whichever glue you prefer. White glue and glue sticks also work well, but you need to be careful to spread the white glue thinly or it leaves bumps, while glue sticks can be difficult to work with as they tend to dry out.
Once you have glued your envelopes together, you need to decide how they will fold. Do you like the concertina fold (zig-zag) or gate-fold? (I used a gate-fold for mine).
Cover the envelopes front and back with your choice of papers. I use my trusty tape runner to adhere the papers to the envelopes.
I made slits at the top of the two outer envelopes so that I could insert my jumbo tags/photo mats (see flip-through video of final project).
To make the pockets I cut pieces of tracing paper to the size that I wanted, and glued them in place with double-sided tape. When I was all done with the paper parts, I used lace, ribbon, and eyelash trim to decorate.
Below you can watch a video flip-through of the completed project:
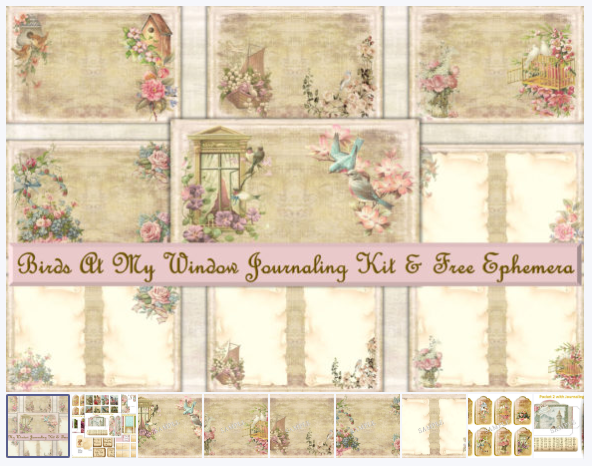
Below are the preview images and links to the images/kits that I used in this project:
For questions about any of the images/kits that I have used, please leave a comment below.


No comments:
Post a Comment